Capturing stunning island sunset photos requires more than just a good camera; it demands an understanding of light, composition, and timing. Islands present a unique canvas with their vibrant skies and reflective waters, but it’s essential to know how to seize the moment. This blog post dives deep into the essential techniques and secrets to elevate your sunset photography to breathtaking levels. Whether you’re a beginner eager to improve or an experienced photographer looking for fresh insights, you’ll discover valuable strategies to make your sunset images incredible.
With the sun setting on the horizon, casting warm hues of orange, pink, and purple, island sunsets can be spellbinding. Unlock the secrets of capturing these vivid memories and transform your photo collections into stunning narratives. By scouting the right locations, mastering camera settings, and effectively composing your shots, you can create mesmerizing images that tell a compelling story of your adventures. Get ready to explore the fascinating world of sunset photography and uncover what it takes to transform a simple moment into an extraordinary visual experience.
Understanding timing greatly influences the quality of your island sunset photos. The golden hour, which occurs just before sunset, bathes the landscape in warm tones and soft light, creating a magical atmosphere. Arrive early and prepare to capture the gradual transition of colors in the sky. Aim to be set up with your camera at least 30 minutes before the sun dips below the horizon, allowing you to shoot a variety of moments as the light changes.
Additionally, don’t overlook the afterglow—the moments following sunset when the sky can become a canvas of intense blues and purples. Many photographers mistakenly believe the show ends when the sun goes down, but it often continues, providing another opportunity for stunning imagery. Monitor the sky and be ready to experiment with shots even after the sun has disappeared. Timing is indeed everything; capturing those fleeting moments can make all the difference to your final photo collection.
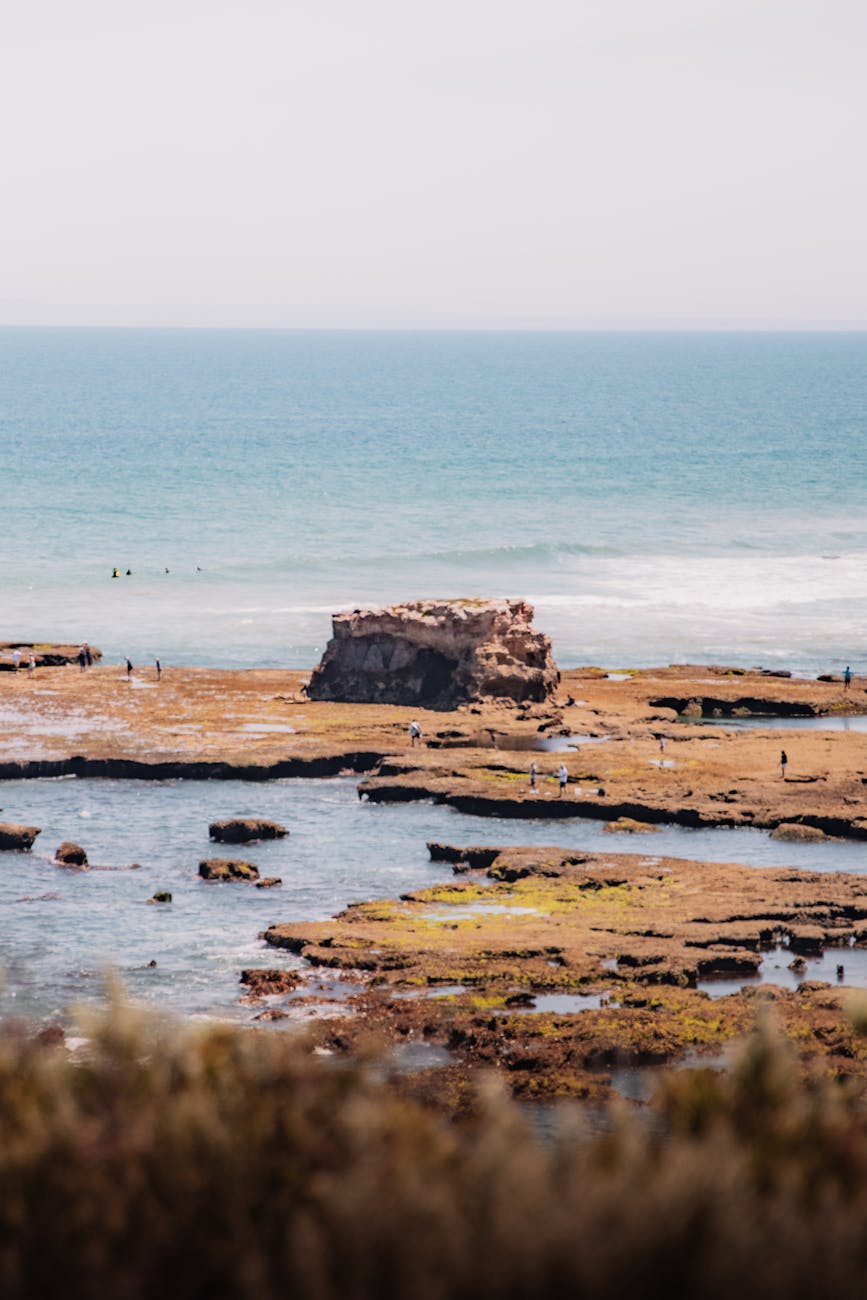
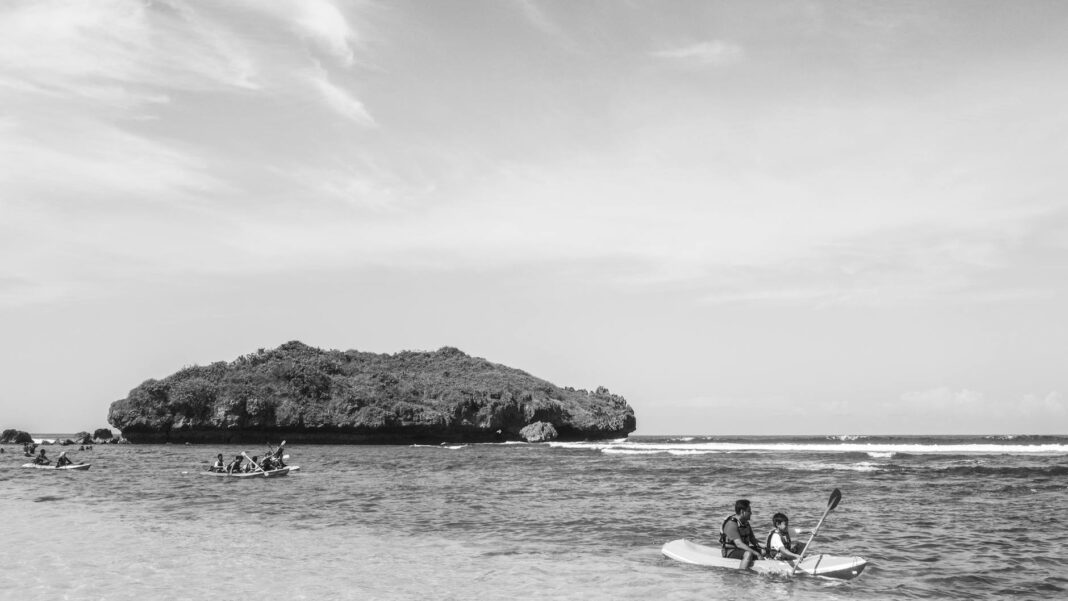
Finding the right location is crucial to creating stunning sunset photographs. Beaches are often the go-to spots, but don’t stop there! Consider cliffs, mountains, and coastal paths that offer unique angles. Research has shown that locations with an unobstructed view of the horizon often yield the most striking images. Scout spots ahead of time during daylight to identify potential foreground elements, such as trees or rocks, that can add interest to your compositions.
Moreover, think about the landscape’s reflections, particularly when shooting over water. Puddles or calm seas can mirror the vibrant sky, doubling the visual impact. When searching for locations, always remember that variety is key; sometimes moving just a few steps can drastically change your perspective and enhance the beauty of your shots. Embrace the adventure of location scouting—it’s where the magic begins!
To get jaw-dropping sunset photos, mastering your camera settings is essential. Start by experimenting with different exposure settings. Utilizing a lower ISO will reduce noise, while a slower shutter speed will help capture the subtle details in the light. If you’re using a DSLR or mirrorless camera, play around with aperture settings to achieve beautiful bokeh effects or sharp landscapes, depending on what you want to highlight.
Another critical setting is the white balance. Adjusting this setting will allow you to capture the true colors of the sunset rather than the overly warm or cool tones produced by automatic settings. Manual adjustments can range from warm tones to cooler blues, giving you creative control to convey the mood you experience. Don’t forget to use a tripod; stability is vital for long exposures and capturing the intricate details of twilight. Adjust your settings thoughtfully, and let your creativity flourish!
The power of composition cannot be underestimated when photographing sunsets. The rule of thirds is an excellent place to start; imagine dividing your frame into a 3×3 grid, placing the horizon along the top or bottom line, depending on whether you want to emphasize the sky or the foreground elements. This simple technique can significantly enhance the overall balance of your image.
Incorporating leading lines, such as paths or waves, guides the viewer’s eye towards the subject—the captivating sunset. Look for natural frames in your environment, such as branches or rocks, to provide context and depth to your image. Experiment with unique angles or perspectives; don’t be afraid to lie down or climb to get that perfect shot. Focus on creativity and storytelling; each photograph should convey a journey and resonate with viewers on an emotional level.
Post-processing is where your sunset images can truly shine with dramatic flair. Using photo editing software can help you enhance colors, add vibrancy, and adjust contrasts to create an eye-catching final product. Experiment with editing tools to highlight certain areas, increase saturation, or tone down overly bright patches that distract from the main focus.
Yet, be cautious not to overdo it—while enhancing colors can create stunning results, maintaining a natural appearance is essential. Subtle edits can elevate your photography without sacrificing authenticity. Consider using presets that can save time and create a consistent style across your photography collection. Post-processing is your chance to infuse your vision into the images, making them uniquely yours!
Embarking on the journey of capturing island sunsets is as rewarding as it is exciting. Each technique and insight shared in this post serves to inspire and nurture your passion for photography. Just remember, every sunset offers unique qualities—no two are alike, and the opportunities to capture magical moments are endless. Embrace each outing with enthusiasm; when the sky turns to flame and darkness begins to fall, let your creativity flow.
The memories you create through sunset photography will stay with you long after your trip. So grab your camera and start capturing those breathtaking moments. Don’t forget to share your unforgettable photographs with friends, family, and other photography enthusiasts. The beach may lie still, but the images you produce can spark adventure and joy in others for years to come.
What equipment do I need for sunset photography?
You don’t necessarily need expensive gear for stunning sunset photography; a good camera—whether it’s a smartphone, DSLR, or mirrorless—will work sufficiently. Consider a tripod for stability and a polarizing filter to enhance colors and reduce glare from reflective surfaces like water.
When is the best time to shoot sunset photos?
The best time to capture sunset photos is during the golden hour, which begins roughly an hour before sunset and lasts until the sun disappears. However, don’t forget about the moments right after sunset, when the sky can still erupt in colors.
How can I make my sunset photos stand out?
To ensure your sunset photos captivate, focus on composition techniques, such as the rule of thirds and leading lines. Experiment with different angles and perspectives to create visual interest. Post-processing can also help enhance colors and details.
Should I shoot in RAW or JPEG?
Shooting in RAW is preferred for sunset photography as it gives you greater flexibility during post-processing, allowing for adjustments in exposure, contrast, and color without losing detail. JPEGs, while convenient, do not provide the same depth of information for edits.
Image Credit: Pexels


